First Impressions of the Artlantis Revit 2010 Add-In
by Tim Alatorre
-
Posted on May 21, 2009
First off, if you haven’t downloaded the beta add-in you can do so by going to the Artlantis download page. I had the Revit 2009 add-in installed so I first had to uninstall this add-in. The install process for the 2010 add-in is very simple and just a standard installation. 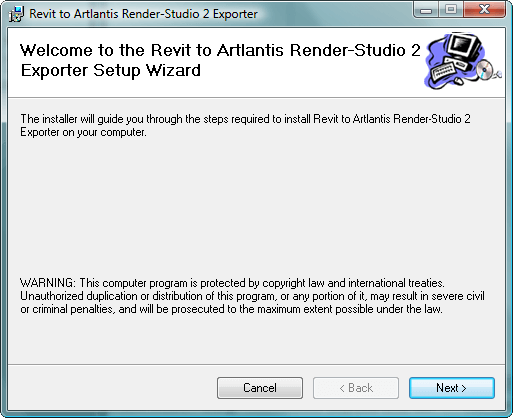
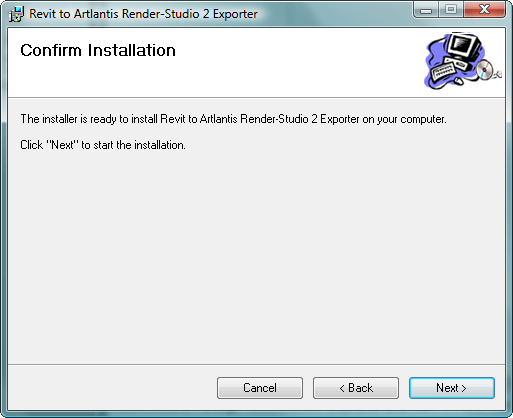 After you confirm you will get the Windows UAC alert if you are running Vista, just click Allow and the installation will start.
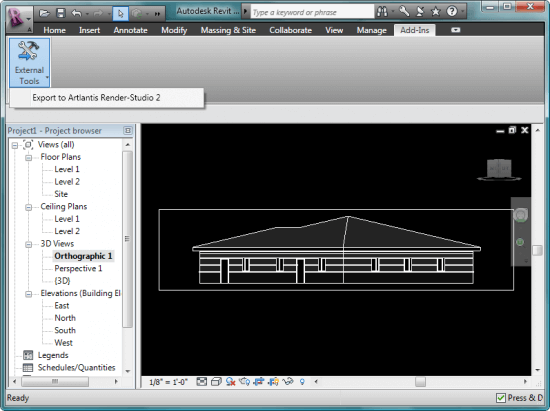
 After install you open up your favorite Revit project, in my case I just dropped down a couple of walls, doors, windows, and roof. I chose a wall type with multiple materials and I set up two additional camera views, one view was a perspective and one was a orthogonal prallel projection. You need to be in a orthogonal non perspectibe view to export, which is pretty much any view except for a camera view that has been set to be a perspective. It should be noted that the instructions Artlantis provides states that you must create a new orthogonal view to export, but the default {3D} view is orthogonal a parallel projection and you can export from it or any of the floor plans and elevations. To export your model make sure that you are in a orthogonal non perspective view then go to: Add-Ins -> External Tools -> Export to Artlantis Render-Studio 2
  Choose where you want to save your file.
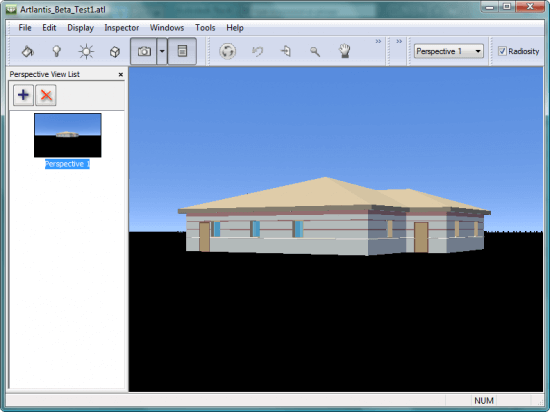
 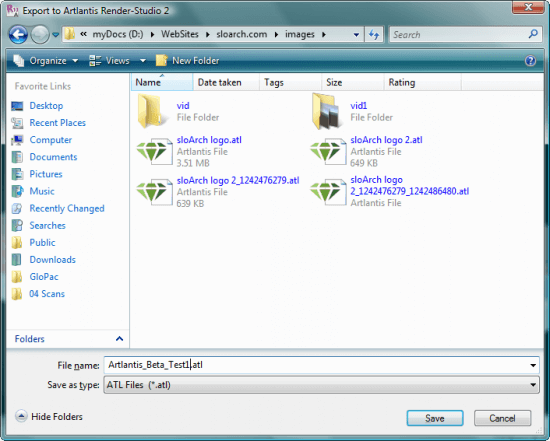 The export for this simple model was near instantaneous. I then opened up the newly created .atl file in Artlantis. Upon opening my project location was already set to the location I had specified in my Revit project and my Perspective and Orthogonal other camera views were imported and set up just as I had them.
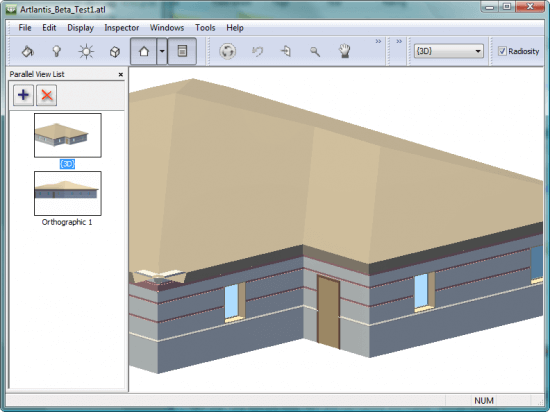 The materials for the project were also imported and a nice list was created. Unfortunately, Artlantis still doesn’t bring in the material properties, textures, ect. It only brings in the Shading RGB value and it appears to set everything else to some default values. Because all the materials come in a nice list it’s very easy to add your own textures or replace the materials with ones from the catalog but Artlantis bring in the textures from SketchUp models so I really think they should do the same with Revit.
 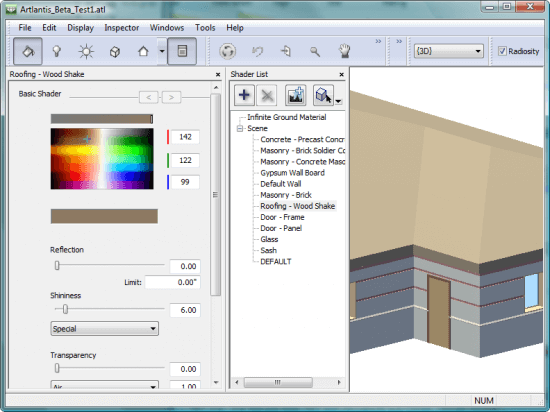 Besides the material import being at only 50% I’m really happy with this beta release. So far everything seems to be working. I was excited about the release of the 2009 add-in but with all of my projects moving to 2010 I now have no reason to keep RAC09 on my system!
Thanks for the review. It's good to see.
I think that you're confusing “orthogonal” views with “parallel projection”
Orthogonal views are always at right angles to each other, like plans and elevations. The default 3D view (from top southeast) isn't 90 degrees from a plan view, but it is still an oblique parallel projection (specifically isometric), unlike our real-life perspective vision.
Thanks for the comment Jon. You are correct, I was using the term orthographic incorrectly. The Artlantis Revit Add-in Readme states that you need to “create an Orthographic 3D view” to export but in reality is works with any parallel projection as you state, which is what I was trying to say.
I revised the post accordingly.